Sunday 31 August 2014

Simple silk bracelet tutorial

I am not a big jewellery wearer. I find I feel restricted and almost claustrophobic wearing jewellery of any kind. However, I have recently been making 
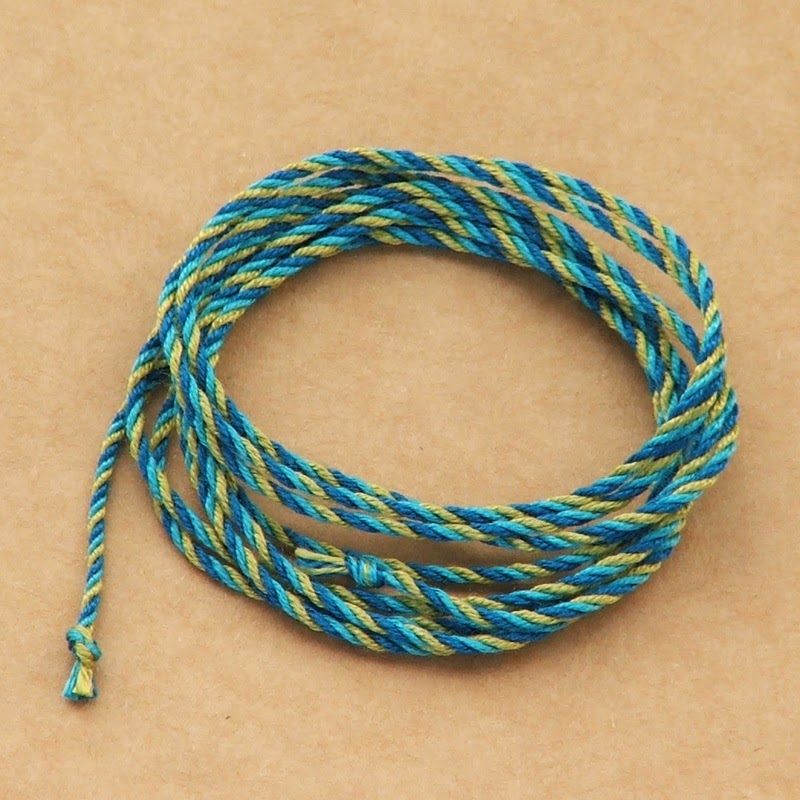
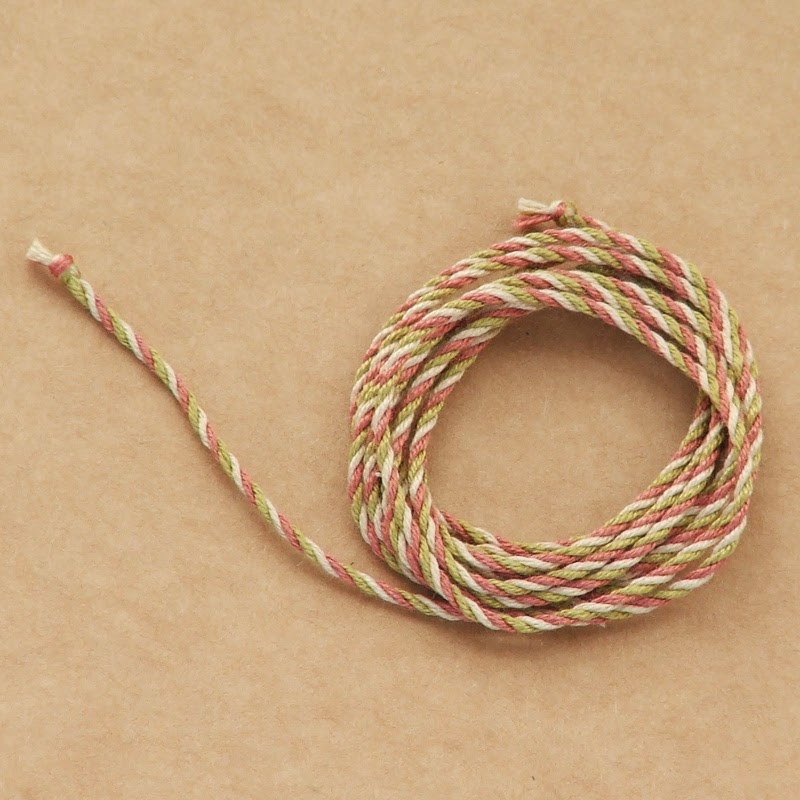
very simple silk bracelets that I love. They are made from my fine silk cords and really simple to make. Here's how.


What you will need:
Silk cord (Mine is 1mm thick)
Crimps (I used 2mm)
Jump rings (small)
Clasp (I used a lobster clasp)
Sewing thread
Scissors
Measuring tape or ruler
Crimper pliers
Two pairs ordinary pliers (for opening jump rings)

Method:
1. Measure your wrist to find out how long you want the bracelet to be. My wrist is 6.5 inches (16cm) around at the narrowest point but I want the bracelet to be a bit looser so I will make the bracelet roughly 7.5 inches (19cm) in length.

2. Take a length of sewing thread and fold it in half. Put the end of the silk cord in the loop of the thread pulling it through about half an inch (1cm). In a moment this will form the bracelet's first looped end.


3. Pull the two ends of the sewing thread through a crimp and pull the crimp down so that it goes over the silk cord to form a small loop (as in the photo above). Use your crimper piers to squeeze the crimp closed and catch both sides of the silk cord securely. Remove the sewing thread and trim the knot off of short end of the silk cord to neaten it.


4. Measure the silk cord from the end of the loop you just made to the measurement you decided on in step 1. In my case this was 7.5 inches. Using the length of thread, lay it under the silk cord at the 7.5 inch point and double it over, trapping the silk cord in the loop as in step 2.


5. Put a crimp over the two ends of thread (just like you did in step 3) and pull the crimp over the loop of silk cord. Check your measurement again - just to make sure your bracelet is the right length - then use your crimper pliers to squeeze the crimp closed, just like before.


6. Now you have a length of silk cord with two loops. Take a jump ring, open it and slip it onto one loop. Repeat with the other loop but add the clasp to the second jump ring too.


7. Fasten it on and wear a simple and original piece of jewellery that is ideal for the summer - or autumn, winter or spring. Make lots more and layer them up.

You can also add little charms to the jump rings, add a short length of chain to a shorter piece of silk cord or make an extra long one and wrap it your wrist around twice for variation.

Saturday 16 August 2014

Celebrate!

I had my best day's painting in almost two years yesterday. Five sketches in one afternoon. Hooray! I am hoping this is me getting back to regular painting but I guess only time will tell.


Needless to say they are now up on Etsy.

Sunday 10 August 2014

Silk cords - part 2

A quick update on the silk cords I have on Etsy. I now have more handmade silk cords in my store. I love making them. I just can't stop. There are three new colour combinations and seven self coloured ones in apple green, aqua, cream, pink, purple, teal and wine. Once my new order of black silk arrives I will be adding good old classic black cords too.


I have a little blog tutorial coming up soon on how to make simple silk bracelets using these cords too.

Thursday 7 August 2014

Silk cord

I have recently been adding silk cords to my Etsy store. I got into cord making having watched Gina B-Silkworks' Making Braids and Cords DVD. Cords are simple to make and so useful. You can make everything from jewellery, decorate packaging with it, even make dog leads using the same techniques. Anyway, I thought silk cords were a great accessory to go with paper beads – fine, soft, silky, thin enough to go through a 2mm hole and a little classier than an acrylic, mass produced cord or tiger tail. So far the cords I have listed come in colours that complement one another. All have names that sound delicious too – Blackcurrant Jelly (purples), Gooseberry Pie (greens) and Banana Split (yellows) to name but three. Mmmm, yummy!


To make a simple necklace using some of this cord (like the Eiffel Tower necklace in the photo below) just use a length of silk cord and a paper bead. Make sure the cord is long enough to go over your head with plenty of room to allow for tying a couple of knots. Fold the cord in half and tie a knot to join the two loose ends, thread a paper bead on the other end and tie another knot above the bead. Hey presto! A simple necklace.

Friday 1 August 2014

Charming

A couple of weeks back I made some tiny charms that match some of my paper beads. Some of the patterns on my beads are so pretty (courtesy of some fabulous Etsy sellers) that it seems a shame not to make additional items that will add a little extra to creative projects. They are great for making jewellery, either with extra beads or on their own. Earrings, pendants, charms, the list is endless.Or even adding to cards or fibre arts for a little dangling detail.